NDA Generator: Automate NDA Creation with No-Code in e!
Build an automated NDA generator in e! — handle company selection, optional clauses, DOCX & PDF output, and email delivery. No coding required.
In this video, we’ll guide you through the process of constructing an NDA (Non-Disclosure Agreement) generator. Note: The content showcased is for demonstration purposes only.
Step 1: Setting the Foundation
Begin with the essentials, Name of your bot and description. Keep in mind, the description remains backend-only and won’t be visible to users.

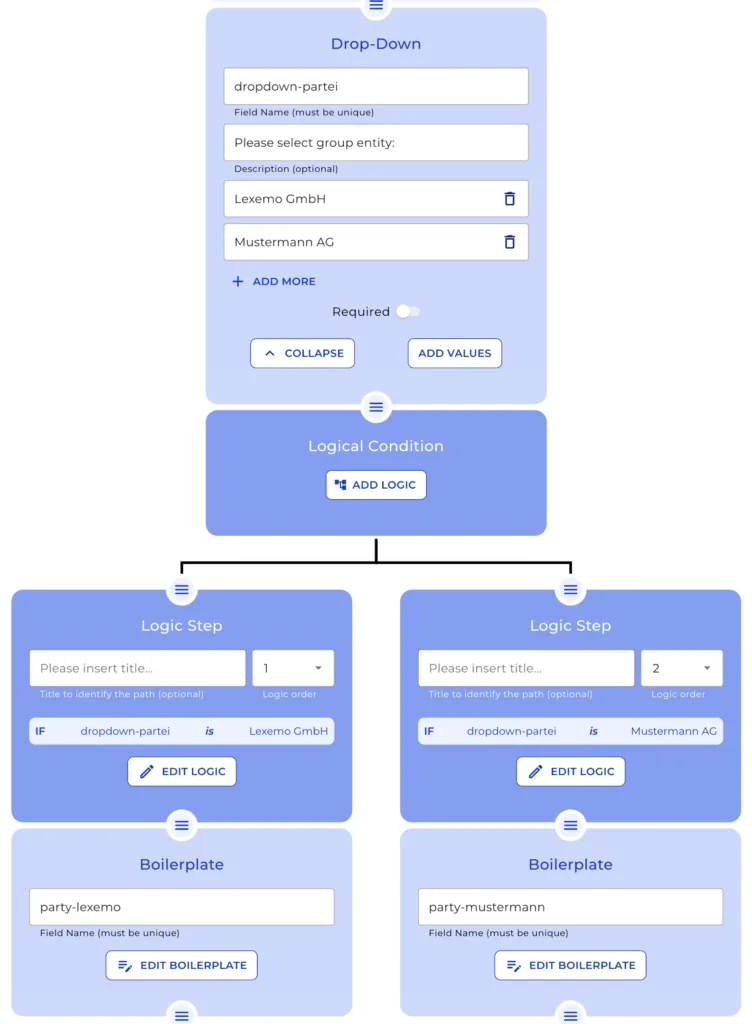
Step 2: Company Selection
From the dropdown select between “Lexemo GmbH” or “Mustermann AG”. Your logic will then display the appropriate company boilerplate.
Step 3: Project Details
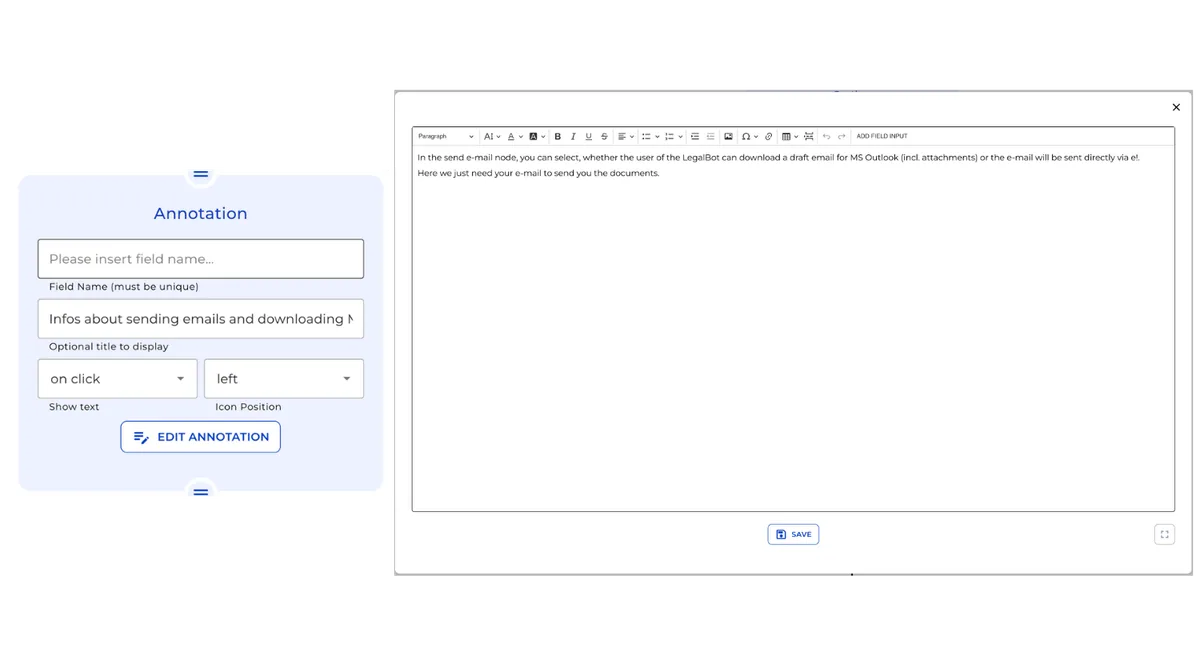
Dive into the Annotation node, designed to offer clients extra context on specific topics. Set it up by naming the annotation, choosing its display method, and deciding its position. Once configured, input the explanatory text.
Step 4: Customizable Clauses
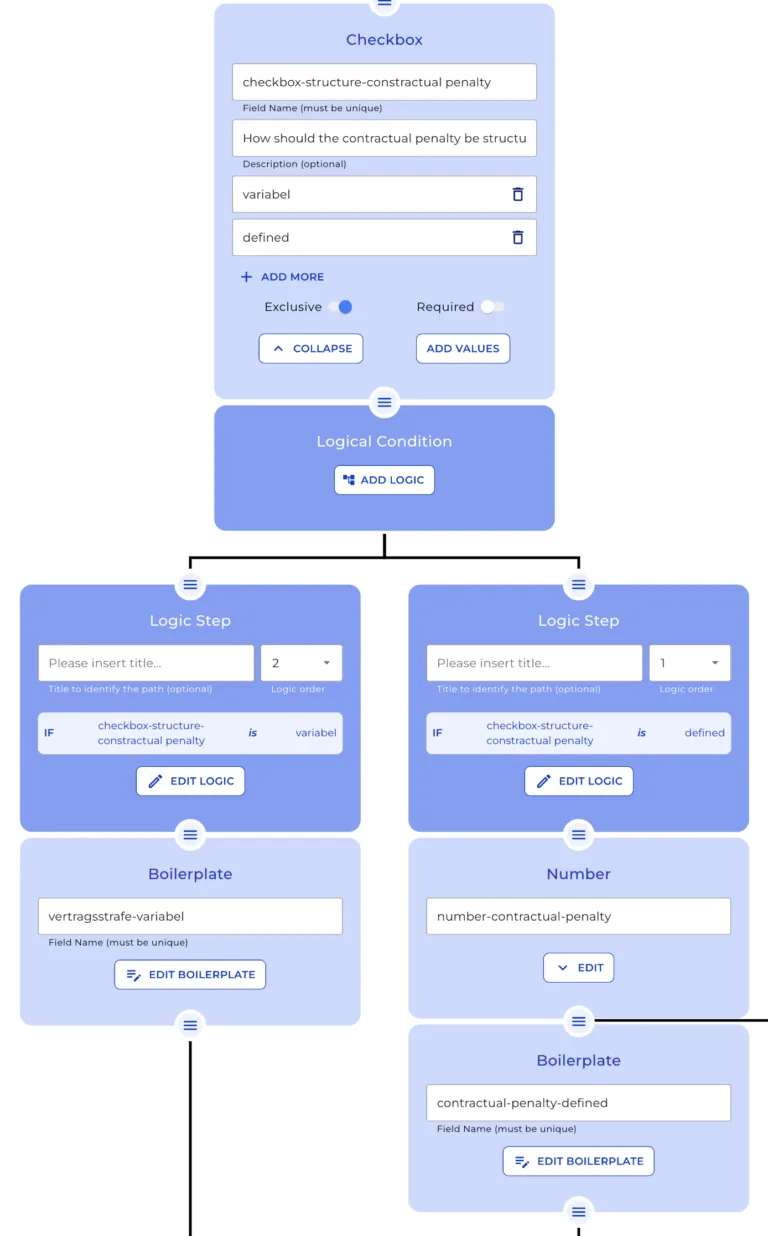
Review the different checkbox nodes. Decide if specific clauses, such as an annex, “Reverse Engineering”, or a “Contractual Penalty” must be included for the client. Depending on selections, the contract preview dynamically updates.
Step 5: Contractual Penalty Logic
If “Contractual Penalty” is chosen, guide clients through a logic path. They can opt for a “variable” or “defined” penalty. The “defined” path allows clients to specify the penalty amount, which then reflects in the boilerplate text.
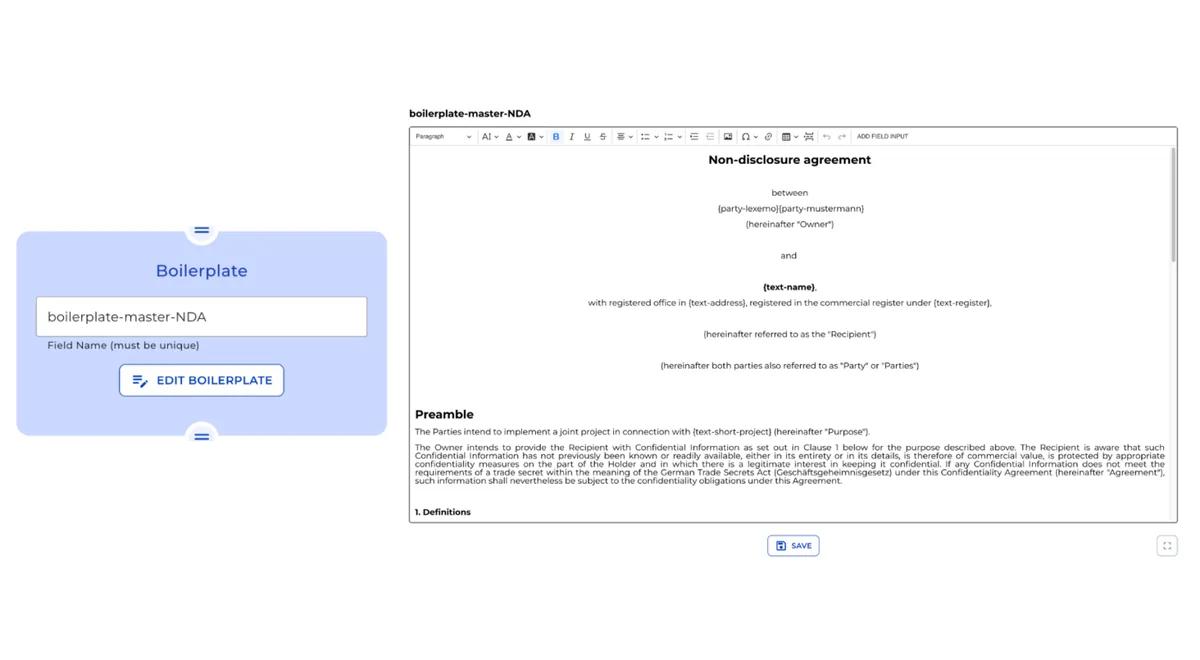
Step 6: Master NDA Boilerplate
Showcase the “Master NDA” Boilerplate node, which presents the client with a personalized NDA based on their inputs.
Step 7: Document Generation
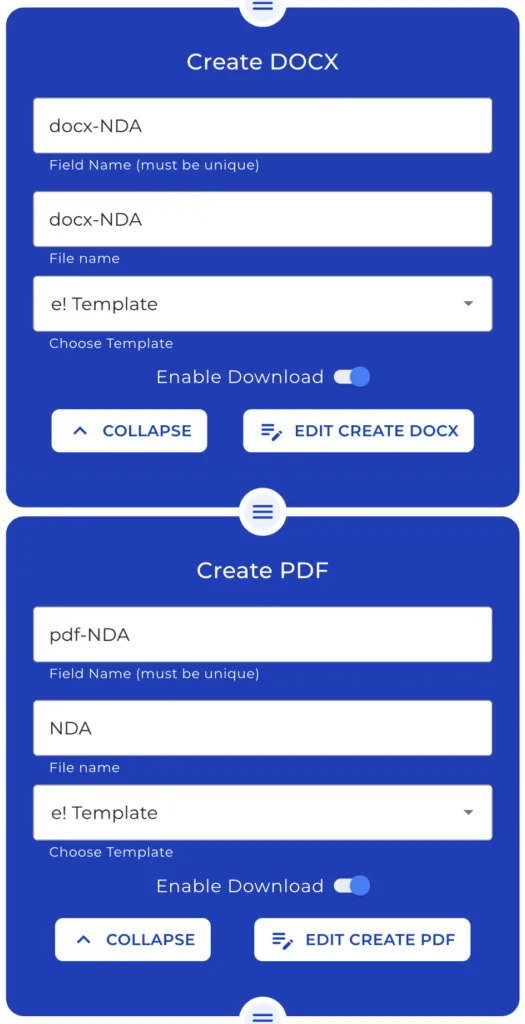
Offer nodes for creating Docx or PDF files. Define the file name, select a template, and decide if clients can download the generated files. Integrate the “Master NDA” into these nodes for a seamless experience.
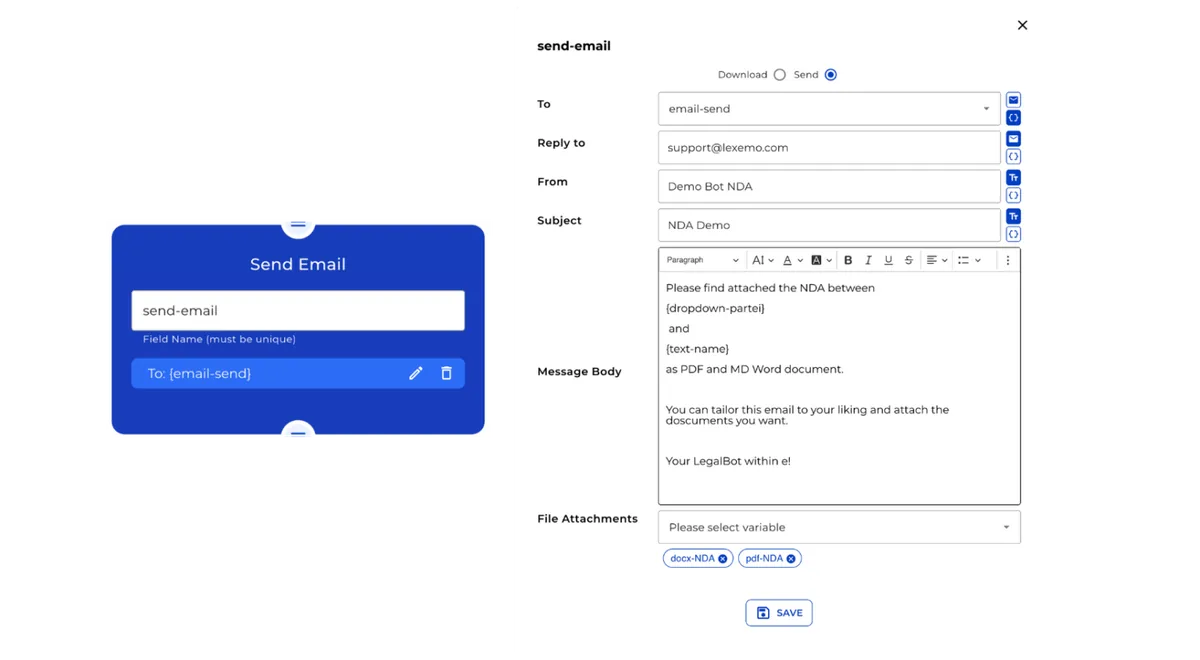
Step 8: Emailing the Contract
Introduce the email node for sharing the contract. Users can type a message, input an email address, and choose between “Send” or “Download”. The latter provides an email draft compatible with Microsoft Outlook, inclusive of the Docx and PDF files.
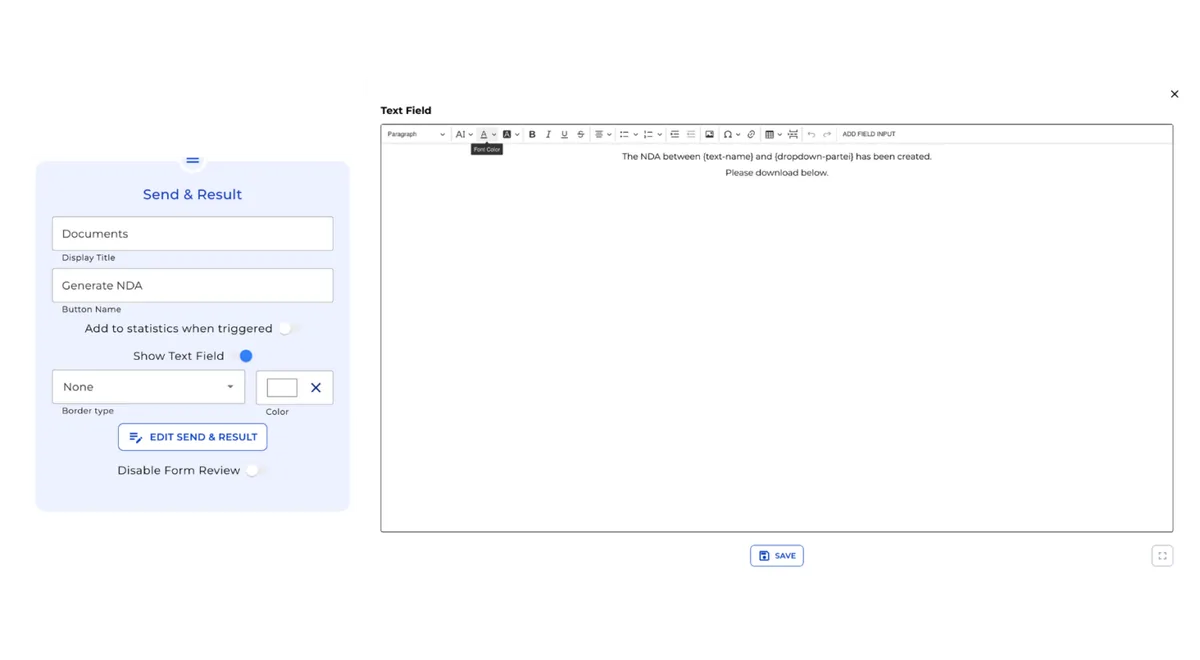
Step 9: Conclusion
Conclude with the “Send & Result” node. Once clients complete the form and hit the final button, they’ll see your predefined message and have access to download the documents.
And there you have it! A streamlined guide to constructing an intuitive NDA generator.